How to Tie Fishing Swivels to Fishing Line
Introduction
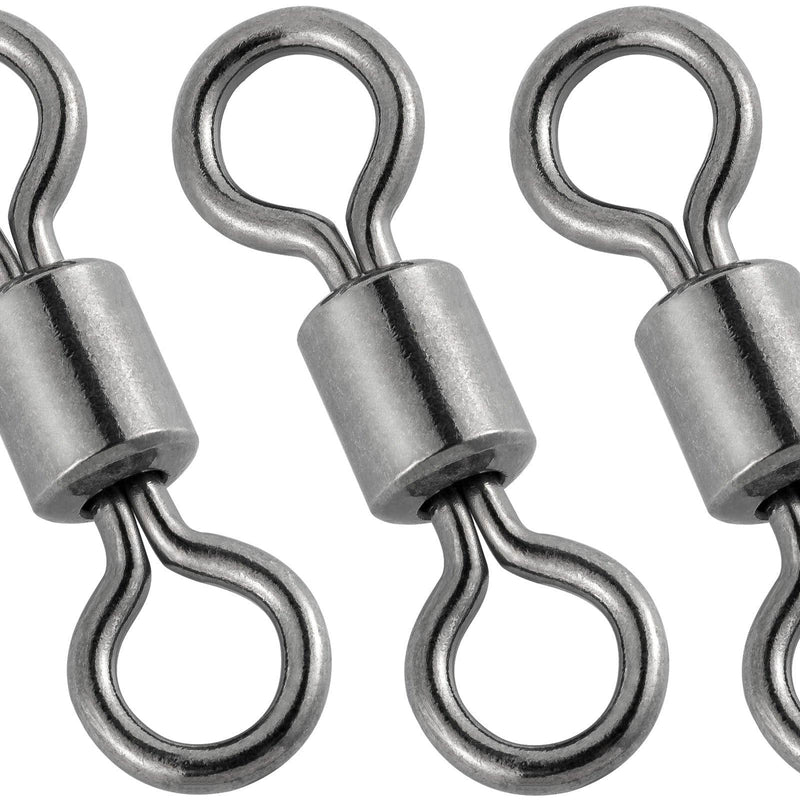
Fishing swivels are essential components in any angler's tackle box. These small but crucial devices help reduce line twist, prevent tangles, and allow for more natural movement of your lures or bait. Whether you're a seasoned fisherman or just starting out, knowing how to tie fishing swivels correctly can significantly enhance your fishing experience. In this blog, we'll walk you through the basics of tying fishing swivels, step-by-step.
Why Fishing with Swivels?
Before diving into the tying techniques, let's briefly discuss why fishing swivels are important. Firstly, swivels help minimize line twist that can occur when using spinning gear. This is especially beneficial when using spinning reels. Secondly, by allowing the swivel to rotate freely, it helps prevent your lines from becoming tangled, which can be a nightmare to untangle. With reduced line twist and better line flow, your lures can move more naturally, making them more attractive to fish. Besides, swivels can be used in various fishing setups, such as connecting leaders, rigs, and different types of lines.
3 Strongest Fishing Swivels Knots
Now that you understand the importance of swivels, let's get into the nitty-gritty of tying them. We'll cover two common fishing swivel knots: the Clinch Knot and the Improved Clinch Knot.
The Palomar Knot
The Palomar knot is the strongest and most reliable knot for tying on lures, hooks, and swivels.

Here is a step-by-step instruction:
Step 1. Double 6 inches/15cm of line and pass end of loop through swivel.
Step 2. Tie a loose overhand knot with swivel hanging from bottom.
Step 3. Pass loop of line over the swivel. Slide the loop above eye of swivel.
Step 4. Pull on both the standing line and tag end to tighten knot down onto eye. Clip tag end close.
The Uni Knot
The Uni Knot is a simple to learn knot that is good for tying swivels, very similar to the Improved Clinch Knot.

Here’s how to tie it:
Step 1. Slide a line through eye of swivel and double back parallel to the standing line. Make a loop by laying tag end over the doubled line.
Step 2. Make 5-6 turns with the tag end around the double line and through the loop.
Step 3. Moisten lines and pull tag end to snug up the turns.
Step 4. Slide knot down to the eye or leave a small loop.
The Clinch Knot
The Clinch Knot is another simple and effective way to attach a swivel to your fishing line. Follow these steps:

Step 1. Pass the end of your fishing line through the eye of the swivel.
Step 2. Make a simple overhand knot about 6 inches from the end of the line.
Step 3. With the tag end of the line, wrap it around both the standing part of the line and the tag end itself for about 5-7 wraps.
Step 4. Moisten the wraps with water or saliva to reduce friction. Pull the tag end tight while holding the standing part of the line firmly.
Step 5. Ensure the knot is snug against the swivel by pulling on the standing part of the line. Trim any excess tag end close to the knot.
Tips for Tying Swivels Knots
- Moisten Your Line: Always moisten your fishing line before tightening any knot. This reduces friction and allows the knot to cinch down more securely.
- Check Your Knots: After tying, always check your knots by pulling gently on the standing part of the line. Ensure they are tight and secure before casting.
- Practice Makes Perfect: Like any skill, tying fishing knots gets easier with practice. Spend some time practicing these knots at home before heading out on your fishing trip.
Conclusion
Tying fishing swivels correctly can significantly enhance your fishing experience by preventing line twist and improving the overall performance of your setup. By choosing the right swivel and mastering the Clinch Knot or Improved Clinch Knot, you'll be well on your way to becoming a more proficient angler. So, next time you're preparing for a fishing trip, remember to pay attention to those small but crucial details—they make all the difference!

0 comments